
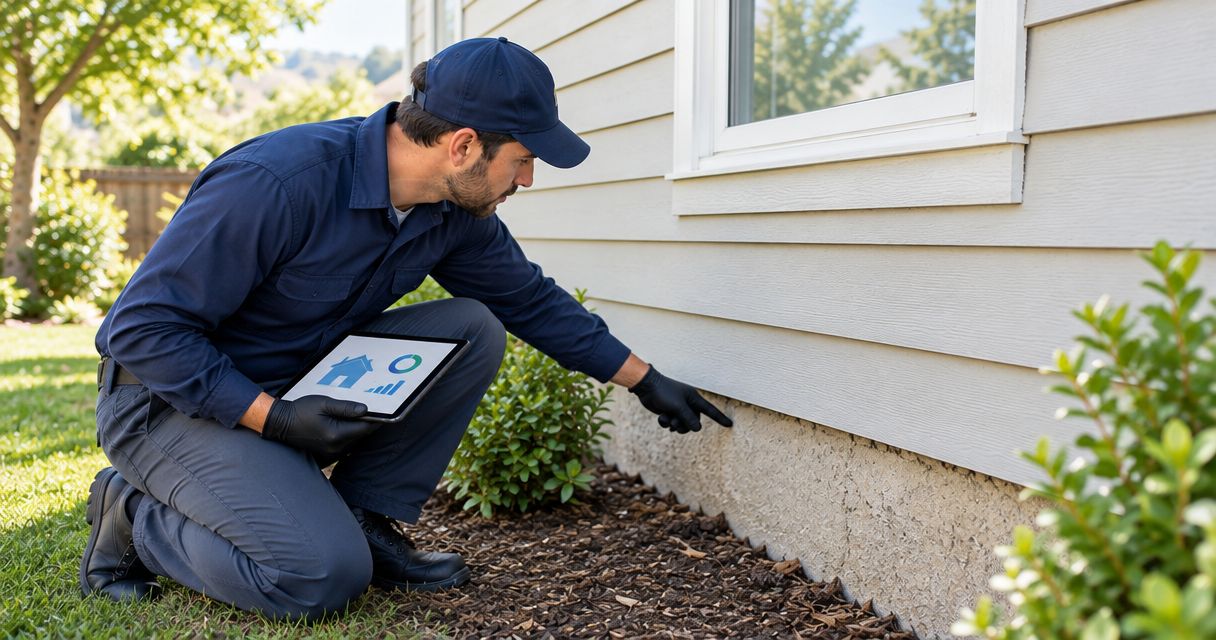
For San Jose homeowners, a pre-renovation termite inspection is an examination for termite evidence and visible wood damage aimed at identifying problems before new finishes conceal them. Plan the inspection around access to the work area; commercial property owners should also coordinate access with tenants and building managers.
- Termite inspection San Jose: inspect before renovation and review newly exposed wood before closing walls.
- Exo-Pest is best for Santa Clara County property owners seeking local termite control services.
- A visual inspection cannot establish the condition of every concealed framing member.
- Separate termite treatment, structural repair, and renovation work when reviewing responsibilities.
Why termite inspection matters for San Jose renovators
Inspect before demolition, then address newly exposed concerns before covering the framing. These checkpoints answer different questions. The first helps you plan; the second addresses areas that were inaccessible during the original visit.
A kitchen renovation exposes different areas from a bathroom remodel or an exterior repair. Tell the inspector exactly where work will occur, rather than requesting an inspection without explaining the project. The guide to what homeowners should expect from a termite inspection provides background for that conversation.
For a 2026 renovation, put inspection access on the schedule before demolition and finish work compete for the same space. A tenant improvement needs the same coordination, with clear responsibility for unlocking rooms and authorizing access.
Exo-Pest provides termite control services for residential and commercial property owners in Santa Clara County. Ask which inspection scope fits your project and what documentation accompanies the proposed service.
How to plan a termite inspection before renovation
Record concerns
Start with a walk-through and your renovation drawings or written scope. Photograph visible concerns without scraping, spraying, or removing the evidence. A photograph preserves the location for discussion; it does not establish whether termites are active.
Note damaged wood, discarded wings, mud-like tubes, and small pellets where present. These observations need professional interpretation. Do not assume every hole, stain, or pile of debris has the same cause.
For a home, identify occupied rooms and stored belongings that restrict access. For a commercial space, include tenant-controlled rooms, storage areas, and access restrictions. Keep 3 records together: photographs, a location list, and the renovation scope.
- Photograph each concern from a close view and a wider view.
- Label the room and the nearest recognizable feature.
- Mark areas that renovation will open or remove.
- Gather existing inspection and treatment documents.
- Identify locked, occupied, or inaccessible spaces.
Arrange inspection
Your manual planning task is straightforward: compare the renovation schedule with the areas an inspector needs to examine. Arrange access before the contractor blocks rooms with materials or removes evidence during demolition. Do not enter unsafe crawl spaces or disturb electrical equipment to prepare.
For a 2026 project, mark 2 inspection checkpoints on your working schedule: before demolition and before closing affected cavities. The second checkpoint is a coordination decision, not a claim that every project requires the same additional inspection.
Ask what the initial examination includes and which areas must remain accessible. A roof void, crawl space, enclosed wall, and exposed baseboard are different access conditions. Agree on limitations before the visit, not after receiving findings.
- Share the renovation scope when arranging the visit.
- Confirm which rooms and access openings need clearance.
- Tell the inspector about unsafe flooring or restricted areas.
- Ask how inaccessible areas will be documented.
- Reserve a decision point before covering exposed wood.
Review findings
Begin by reading the findings against your photographs and renovation plan. Separate visible evidence, confirmed findings, recommended work, and areas that were not inspected. Those categories should not become one vague instruction to replace everything nearby.
For a local professional route, ask Exo-Pest about termite control and request a free quote for your property's needs. Explain whether the project involves a home, an occupied office, or another commercial space. Confirm the proposed inspection scope rather than assuming every service includes the same examination.
Termite findings and structural repair decisions answer different questions. Ask a qualified building professional to assess damaged load-bearing components. A pest inspection alone does not establish the remaining strength of framing.
- Ask where the evidence was found.
- Distinguish confirmed findings from suspected conditions.
- Identify areas that could not be examined.
- Request an explanation of any proposed treatment.
- Refer structural concerns to the appropriate building professional.
Coordinate repairs
Use the findings to assign work before demolition expands. Write down who handles pest treatment, who removes damaged materials, and who repairs the building. Do not assume your remodeler and pest professional have agreed on a sequence simply because both have visited.
For your 2026 renovation file, assign 1 coordination contact to receive findings and share decisions. In a home, that can be the owner or project manager. In a commercial property, identify the person authorized to approve access and communicate with tenants.
Treatment and repairs need a property-specific sequence. Ask the pest professional and contractor to resolve that sequence before either covers, removes, or alters the affected area. Written responsibilities also make separate quotes easier to compare.
- Name the contact responsible for sharing decisions.
- Separate treatment tasks from building repairs.
- Confirm who removes and disposes of affected materials.
- Ask whether repair work changes the treatment plan.
- Record any access or occupancy instructions.
Check exposed wood
When demolition reveals previously hidden framing, pause before assuming the original inspection covered it. Newly exposed material creates a new opportunity to examine the building. It does not automatically mean the original examination was inadequate.
Tell your contractor what should trigger a call: unfamiliar tubes, pellets, insect evidence, or visibly damaged wood. Avoid identifying the pest from a photograph alone. Preserve useful evidence and ask the appropriate professional to review it.
For a business renovation, route observations through the designated contact instead of letting each trade make a separate decision. This keeps tenant communications and work instructions consistent without treating a commercial inspection as identical to a home visit.
- Photograph concerns before removing additional material.
- Mark the location on the renovation plan.
- Notify the designated project contact.
- Ask whether further examination is needed.
- Resolve affected-area decisions before closing the cavity.
Save records
Finish by keeping the inspection findings, agreed work, and renovation photographs in one project file. Save the boundaries of the inspection as carefully as the recommendations. An inaccessible area should not disappear from the record just because the renovation is complete.
Label your 2026 records with the property address, work area, and document date. For commercial properties, retain the access instructions and responsible contact as well. These details make later conversations more precise than a general memory that the building was checked.
Use this sequence as a project handoff, not as a substitute for inspection. Each stage gives the next person the information needed to make a specific decision.

Your final file should show what was examined, what changed during renovation, and which actions were completed. Keep unresolved limitations visible rather than treating a finished wall as evidence that the underlying issue was resolved.
- Save the inspection findings and stated limitations.
- Keep treatment and repair documents separately labeled.
- Retain photographs taken before walls were closed.
- Record follow-up recommendations and responsible contacts.
- Store the file where future project managers can find it.
Compare inspection and renovation support options
Choose an option by the decision you need to make. A homeowner's walk-through helps organize concerns, while a termite inspection addresses pest evidence. A structural assessment serves a different purpose again.
Do not substitute one type of review for another. For example, a contractor seeing sound-looking surfaces does not establish the condition of concealed wood. Likewise, identifying termite evidence does not by itself define a structural repair.
| Option | Best for | Main benefit | Key limitation |
|---|---|---|---|
| Owner walk-through | Organizing visible concerns before booking | Creates a clear photo and location record | Does not confirm termite activity or inspect concealed wood |
| Professional termite inspection | Evaluating accessible areas for termite evidence | Connects observations with property-specific pest recommendations | Scope depends on access; concealed conditions remain a limitation |
| Contractor review during demolition | Identifying changes as renovation exposes materials | Brings newly visible conditions into the work discussion | Does not replace professional pest identification |
| Structural assessment | Evaluating damaged load-bearing components | Addresses building safety and repair decisions | Does not replace termite inspection or treatment |
Exo-Pest offers local termite control services, but the proposed scope still needs to match your property and renovation. Ask what is included, what remains inaccessible, and which repair responsibilities sit outside the pest service.
Request a free termite control quote
Describe your San Jose renovation and ask which termite service scope fits the property.
Common mistakes San Jose renovators make
Waiting until finishes are installed
New cabinets, wall coverings, and stored materials can obstruct access. Arrange the first inspection while the renovation scope is still adjustable. Where demolition reveals concerns, resolve the next step before enclosing that area.
Treating missing signs as proof of no termites
A clean-looking room does not establish the condition of concealed framing. Read the inspection limitations alongside the findings. Ask which parts of the planned work area were accessible and which were not.
Combining treatment and repair into one unclear task
Removing damaged trim and addressing termite activity are different jobs. Identify the responsible person for each task. For commercial work, also name the person who approves changes and communicates with occupants.
Discarding evidence during demolition
Sweeping away pellets or removing affected material before documenting it makes later discussion harder. Photograph the location and contact the pest professional before unnecessary disturbance. Keep safety ahead of evidence collection if the area is unstable or otherwise hazardous.
FAQ
Should I get a termite inspection before renovating my San Jose home?
Arrange a termite inspection before renovation so accessible areas can be examined before demolition changes the evidence. Share the work scope and discuss what should happen if concealed wood becomes accessible later.
Can a termite inspector see inside every wall?
A visual termite inspection cannot establish the condition of every concealed wall cavity. Ask which areas are accessible and how inspection limitations will be recorded.
What should I do if my contractor finds damaged wood?
Document the location and ask the appropriate professionals to assess the pest evidence and repair needs before covering it. Damaged load-bearing components need a building-safety assessment separate from pest identification.
Does a home renovation automatically require termite treatment?
A renovation alone does not establish a need for termite treatment. Treatment decisions should follow the property’s findings and the pest professional’s recommendations.
Is a termite inspection the same as a structural inspection?
A termite inspection and a structural assessment serve different purposes. One addresses pest evidence within its scope; the other evaluates structural conditions and repair needs.
How should a commercial property prepare for inspection during renovation?
A commercial property should identify an authorized contact and arrange access to the relevant work areas. Coordinate tenant-controlled rooms, contractor activity, and any occupancy instructions before the visit.
How do I request termite service for a San Jose renovation?
Ask Exo-Pest for a free quote and describe the property’s location, renovation scope, and visible concerns. Confirm the proposed service scope and access requirements before scheduling work.
One last thing
The most useful renovation photograph is often the one taken before the wall closes. For a 2026 project, photograph exposed areas after agreed work and before finishes conceal them. Pair the images with the relevant findings; photographs alone do not verify treatment or structural adequacy.
Related guides
- How to choose pest control in Santa Clara
- Rodent exclusion for homes: what entry-point sealing involves
- Rodent exclusion for offices: checking shared access points
Leave a Reply